This document introduces how to quickly run the TUIKit Compose Demo.
Please Attention: In respect for the copyright of the emoji design, This project does not include the cutouts of large emoji elements. Please replace them with your own designed or copyrighted emoji packs before the official launch for commercial use. The default small yellow face emoji pack is copyrighted by Tencent Cloud and can be authorized for a fee. If you wish to obtain authorization, please Contact Us.

- Log in to the Chat Console. If you already have an app, record its SDKAppID.
- On the Application List page, click Create Application.
- In the Create Application dialog box, enter the app information and click Confirm.
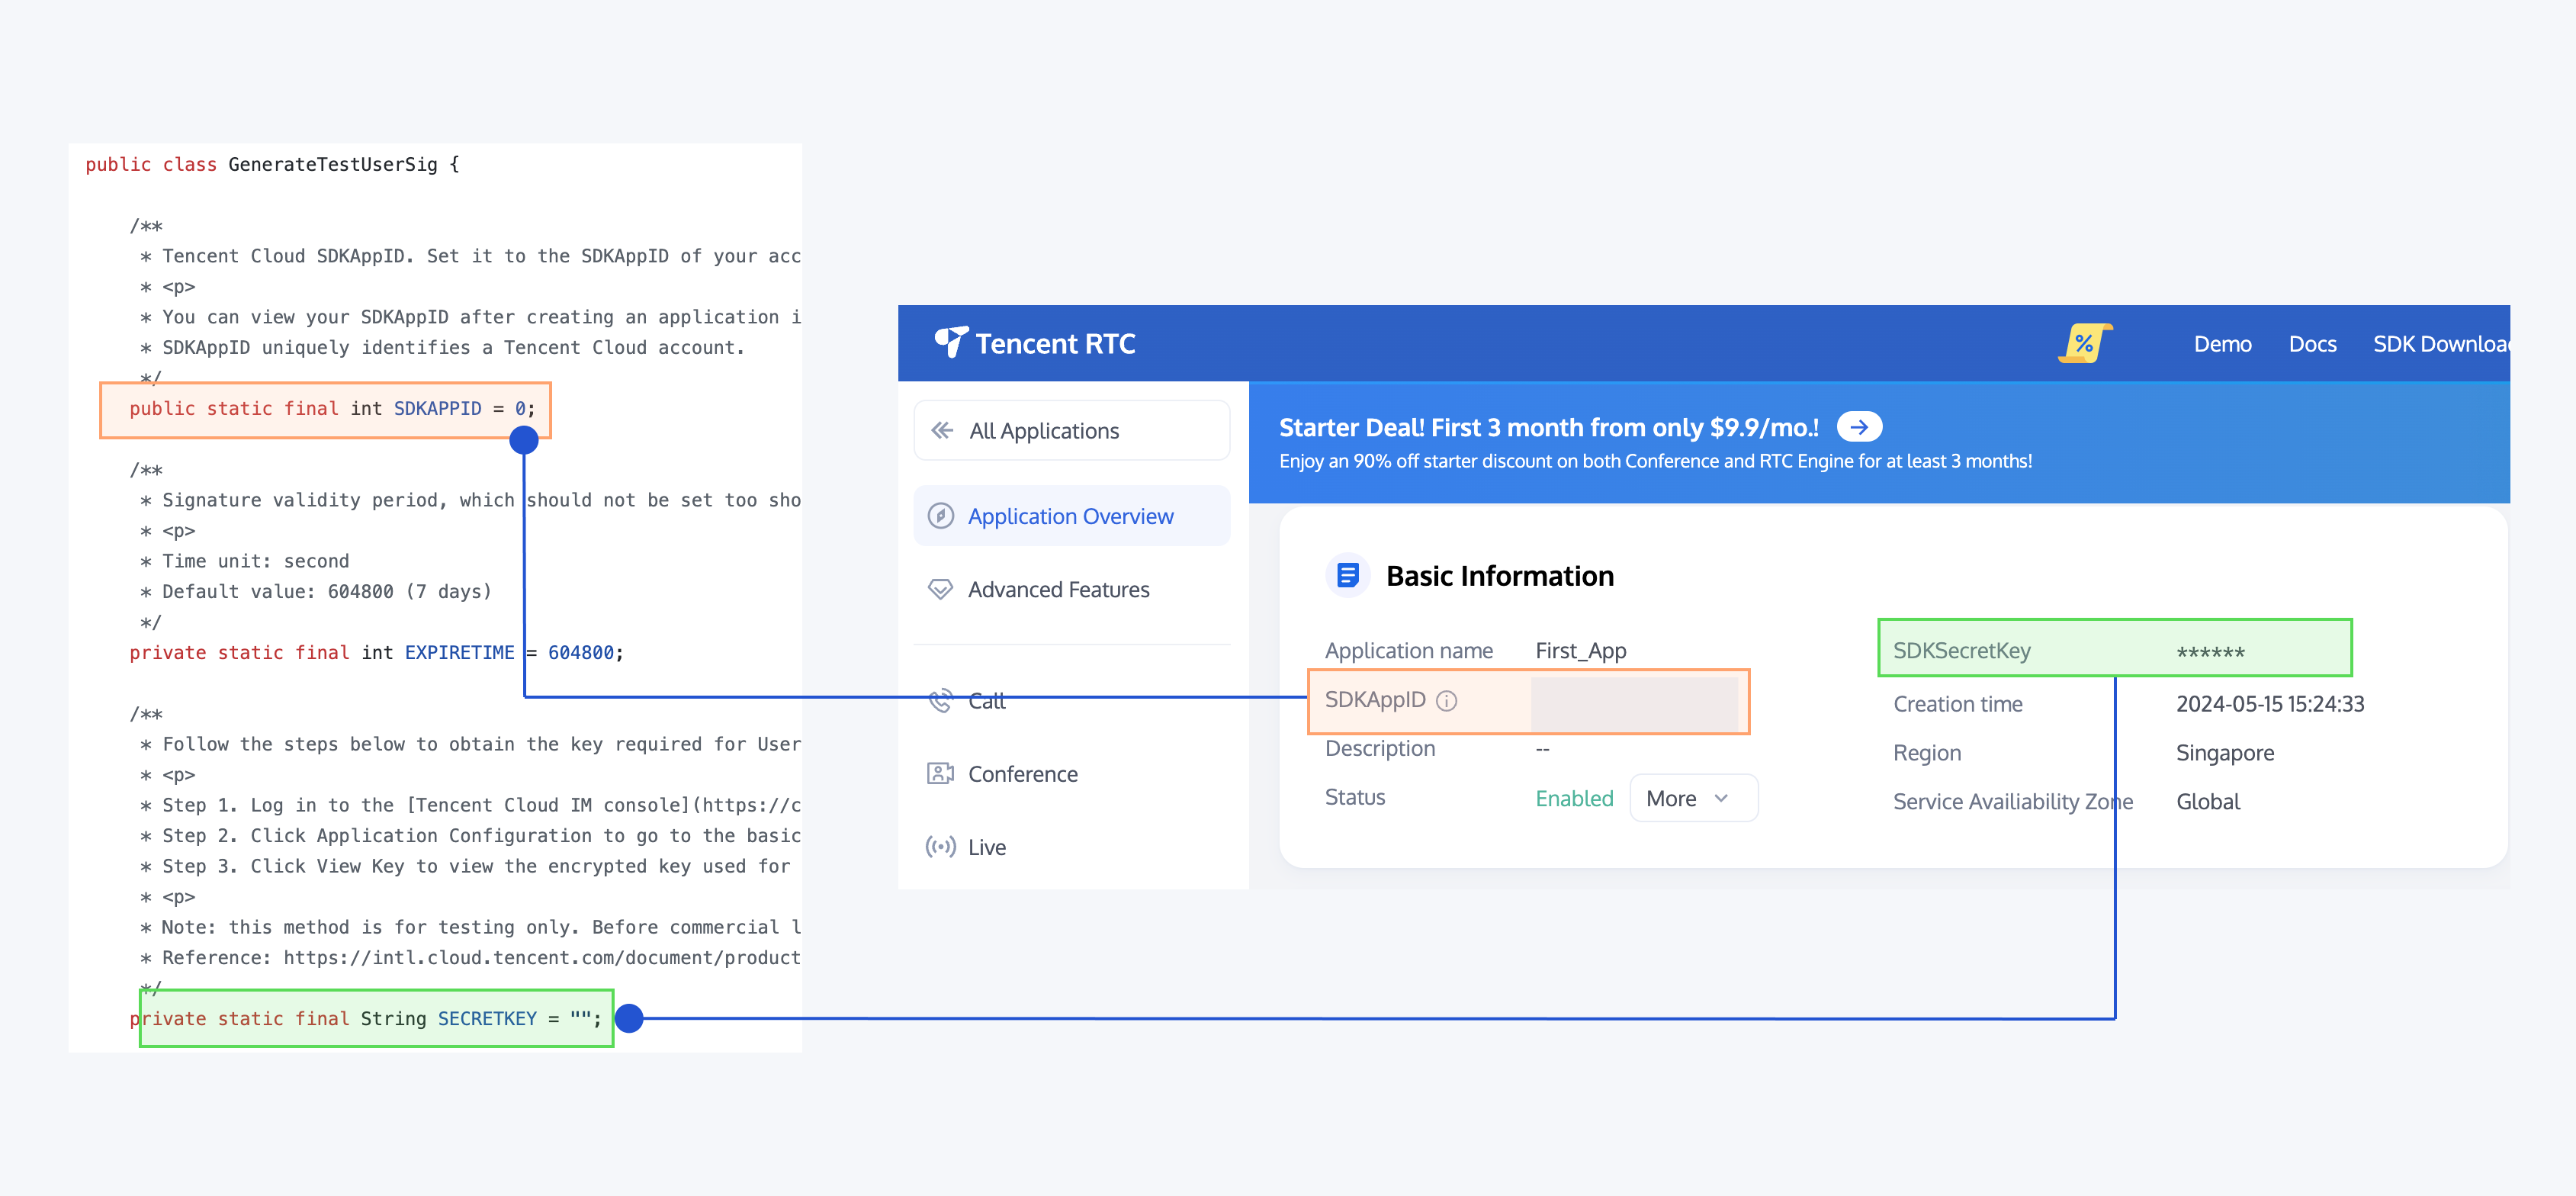
After the app is created, an app ID (SDKAppID) will be automatically generated, which should be noted down.
- Click Application Configuration in the row of the target app to enter the app details page.
- Click View Key and copy and save the key information.
Please store the key information properly to prevent leakage.
- Clone this TUIKit_Android_Compose project.
- Open the Android project and locate
chat/demo/app/src/main/java/io/trtc/tuikit/chat/signature/GenerateTestUserSig.java. - Set relevant parameters in the
GenerateTestUserSig.javafile:
In this document, the method to obtain UserSig is to configure a SECRETKEY in the client code. In this method, the SECRETKEY is vulnerable to decompilation and reverse engineering. Once your SECRETKEY is leaked, attackers can steal your Tencent Cloud traffic. Therefore, this method is only suitable for locally running a demo project and feature debugging. The correct
UserSigdistribution method is to integrate the calculation code ofUserSiginto your server and provide an application-oriented API. WhenUserSigis needed, your app can send a request to the business server for a dynamicUserSig. For more information, please see How do I calculate UserSig on the server?.
- Open
TUIKit_android_compose/chat/demowith Android Studio. - Wait for Gradle sync to complete.
- Connect an Android device or start an emulator (Android 8.0+ recommended).
- Select the
apprun configuration and click Run.
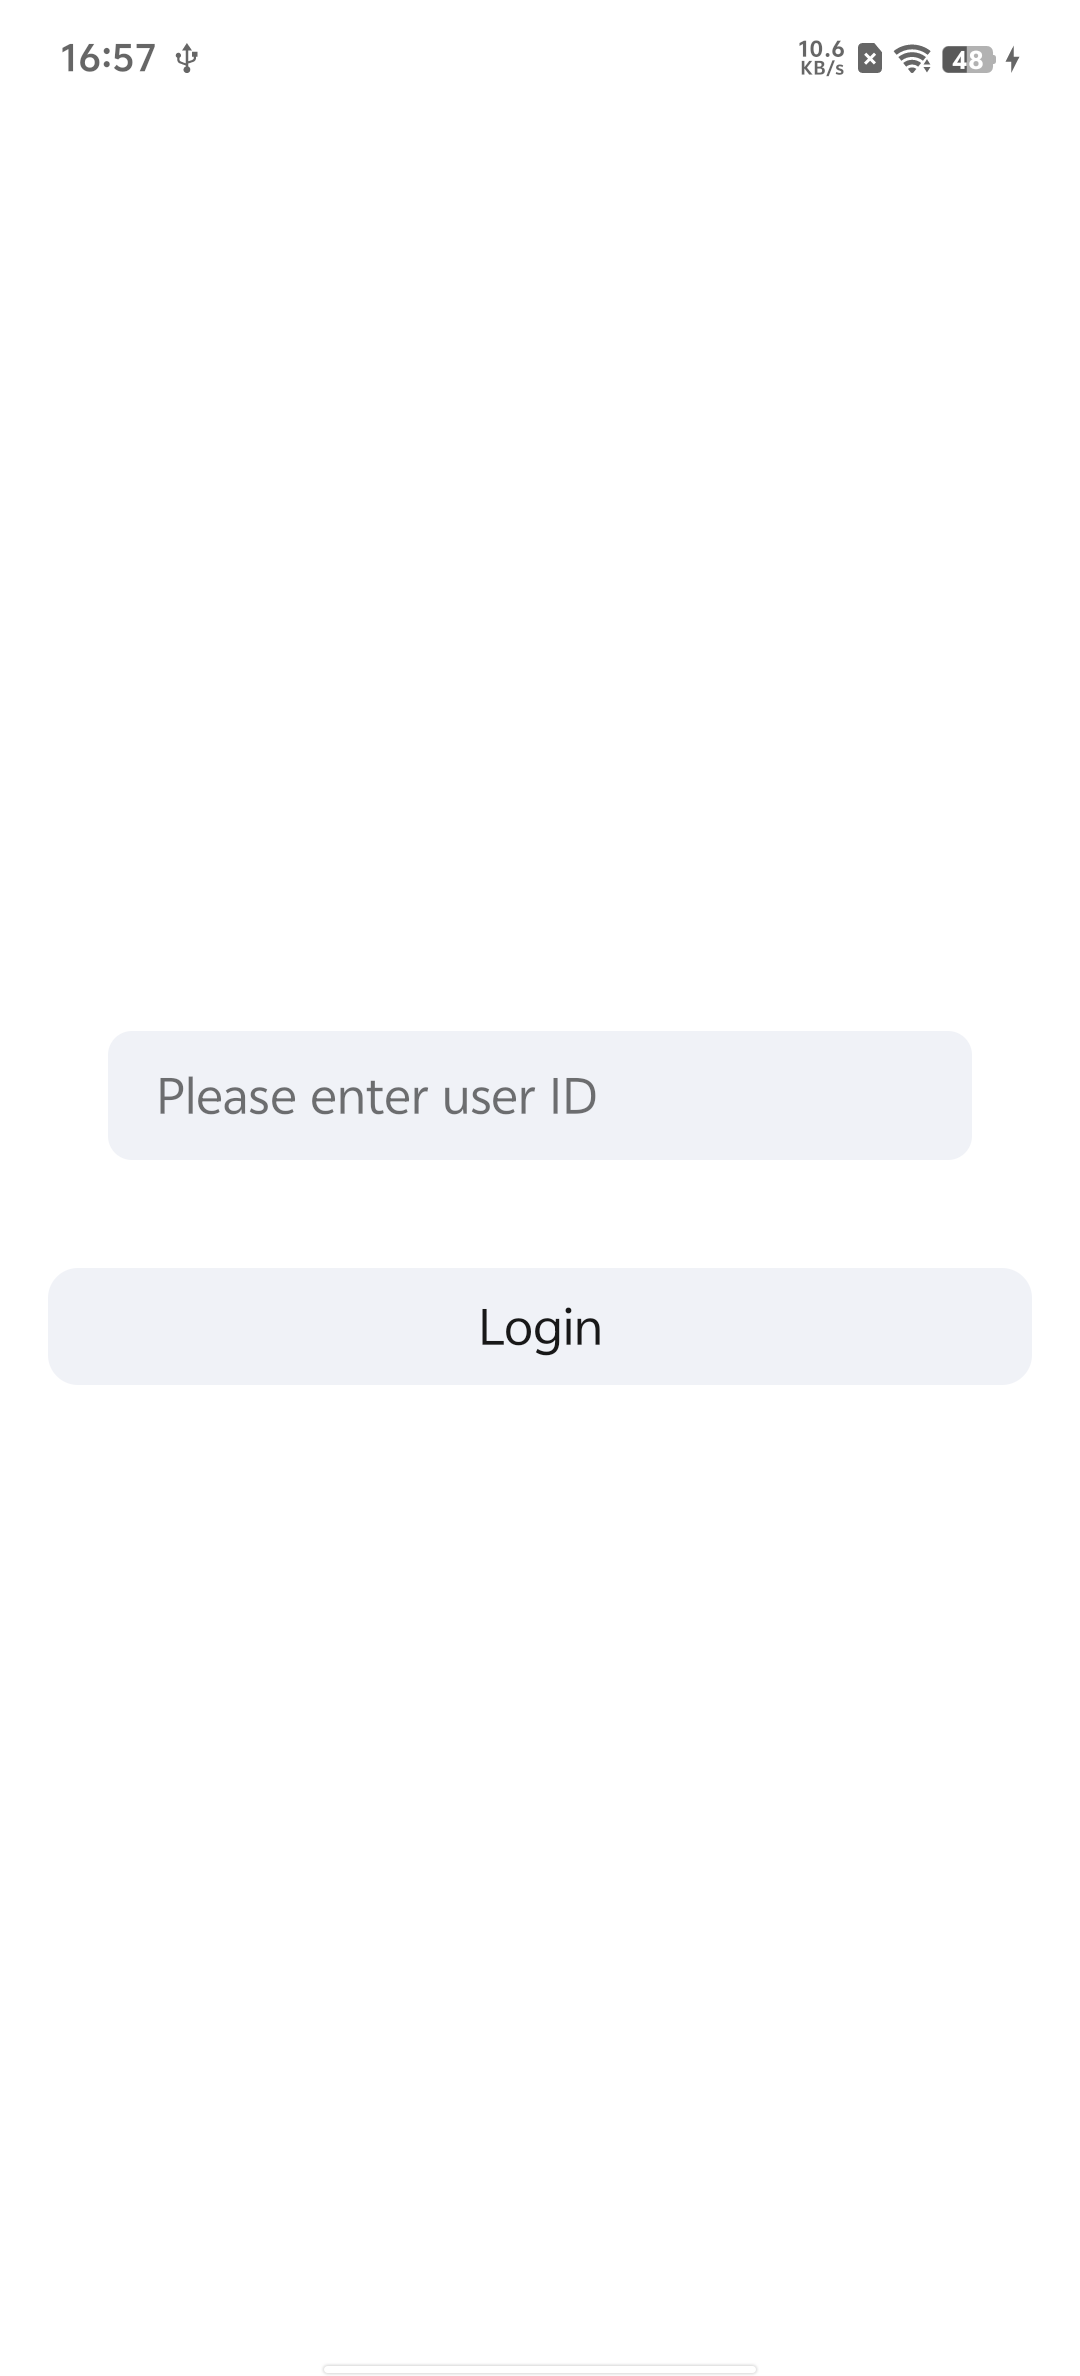
When you run it successfully, you'll see this UI:
|